

Setup in 7 steps
When you are new, setup takes you through what the account needs to know about you. It takes about a quarter of an hour, and everything can be changed later under Settings.
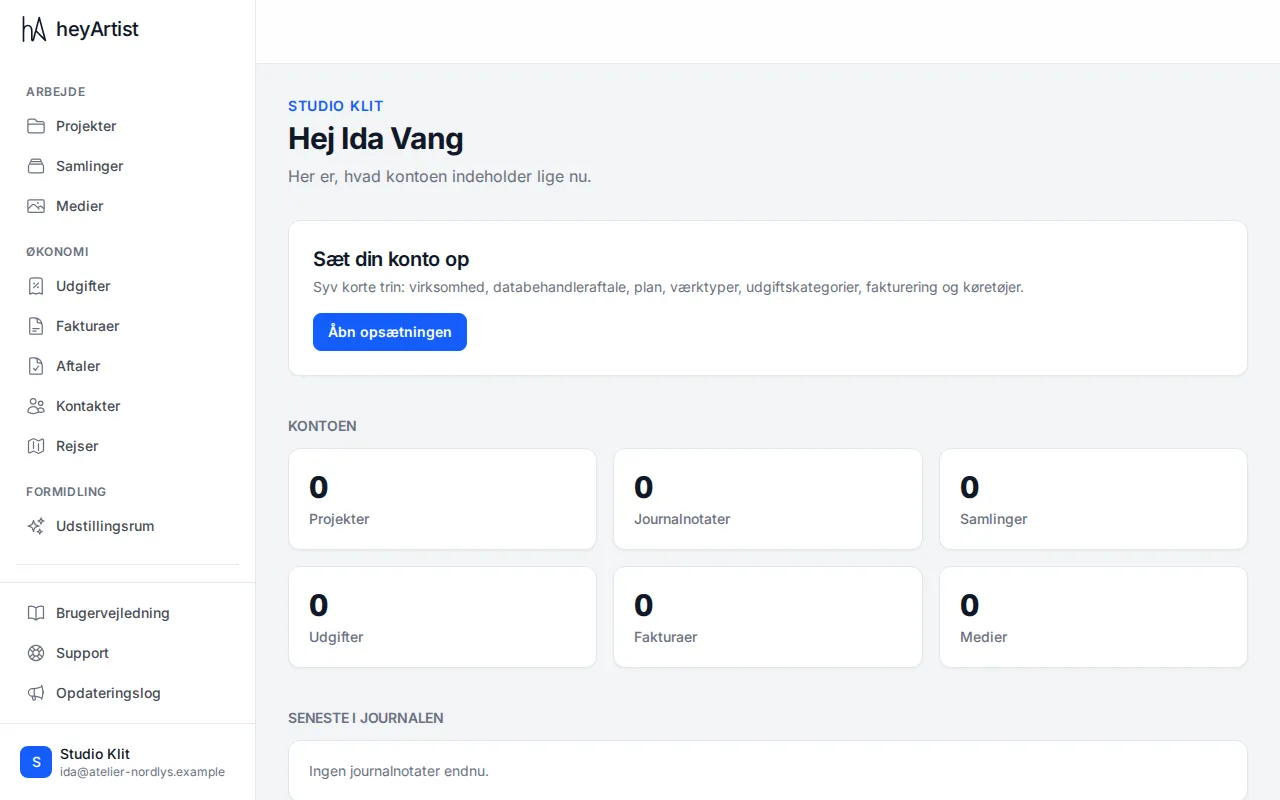
Click Open setup on the front page. The card stays there until setup is finished.
How setup works
Section titled “How setup works”- The steps are listed at the top. You can click back and forth between them in any order, or use Next and Back at the bottom.
- Each step is saved on its own — either straight away (when you add a category) or with the step’s own Save button.
- Each step says whether it is Required or Optional.
- You can leave setup at any time and come back later from the card on the front page.
1. Business
Section titled “1. Business”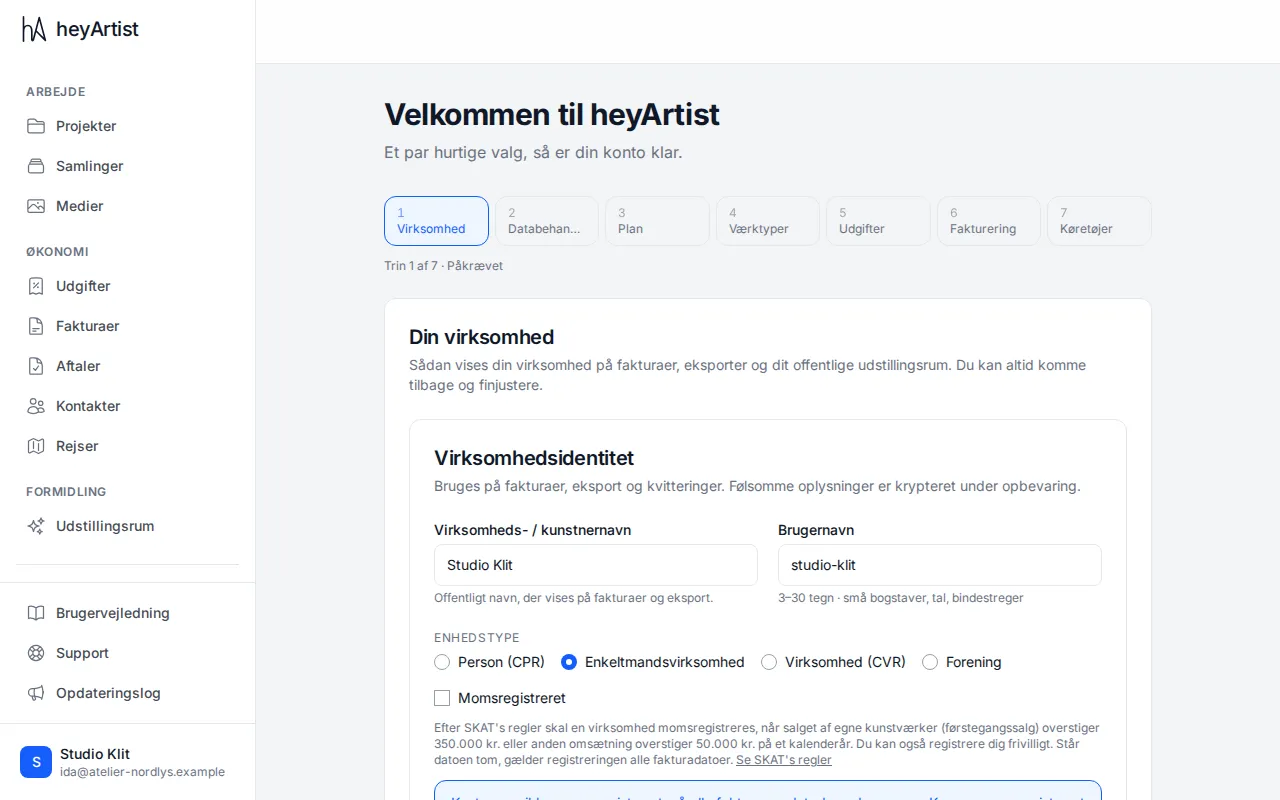
Here you say who sends the invoices:
- Business / artist name — the name on invoices and exports.
- Handle — the account’s short name in lower-case letters, digits and hyphens.
- Entity type — Person (CPR), Sole trader, Company (CVR) or Association.
- VAT registered — tick it only if you are registered for VAT with SKAT, and enter the date you were. If you are not VAT registered, every invoice is issued without VAT.
- CVR number, address, phone, email and website.
The CVR number is required if you chose Company (CVR) or are VAT registered. More in Business details.
2. Data processing agreement
Section titled “2. Data processing agreement”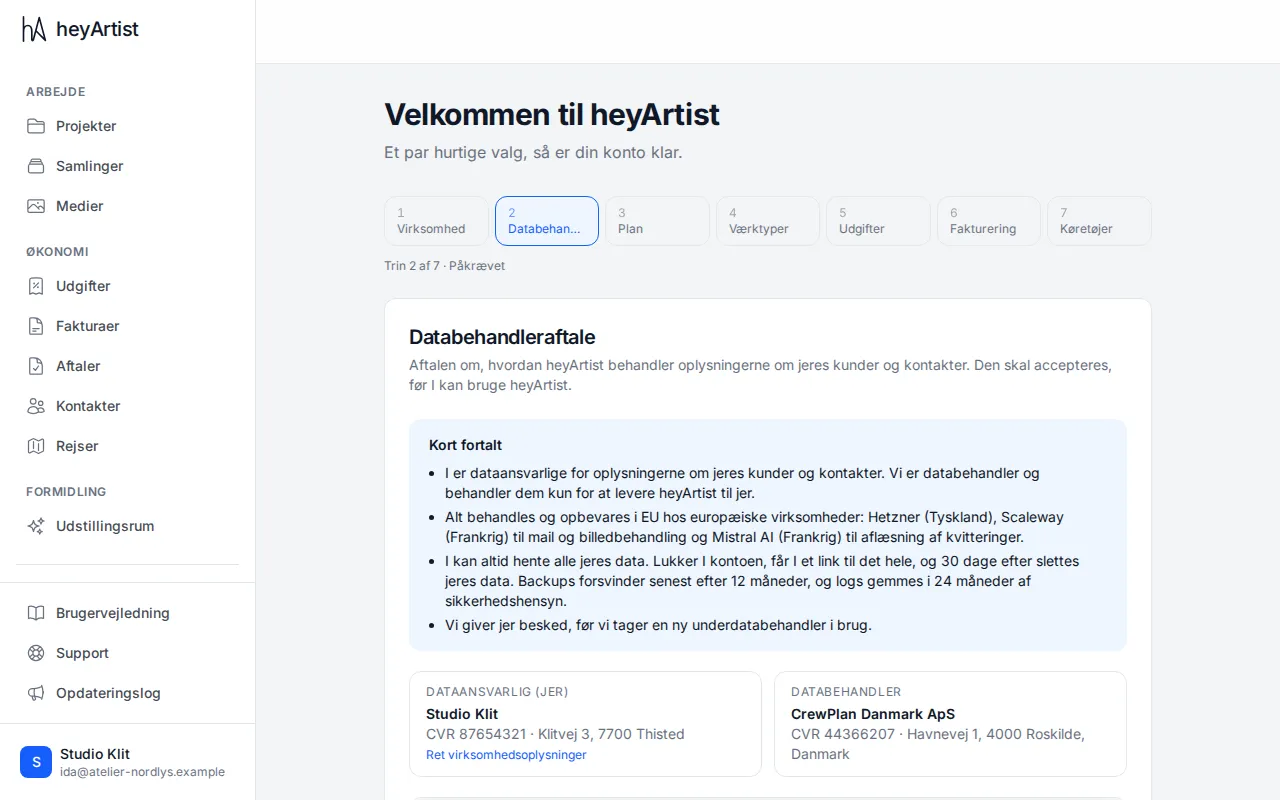
The data processing agreement must be accepted before the account can be used. Read the summary, tick the box and click Accept the data processing agreement. If it has already been accepted, the step says when. See The data processing agreement.
3. Plan
Section titled “3. Plan”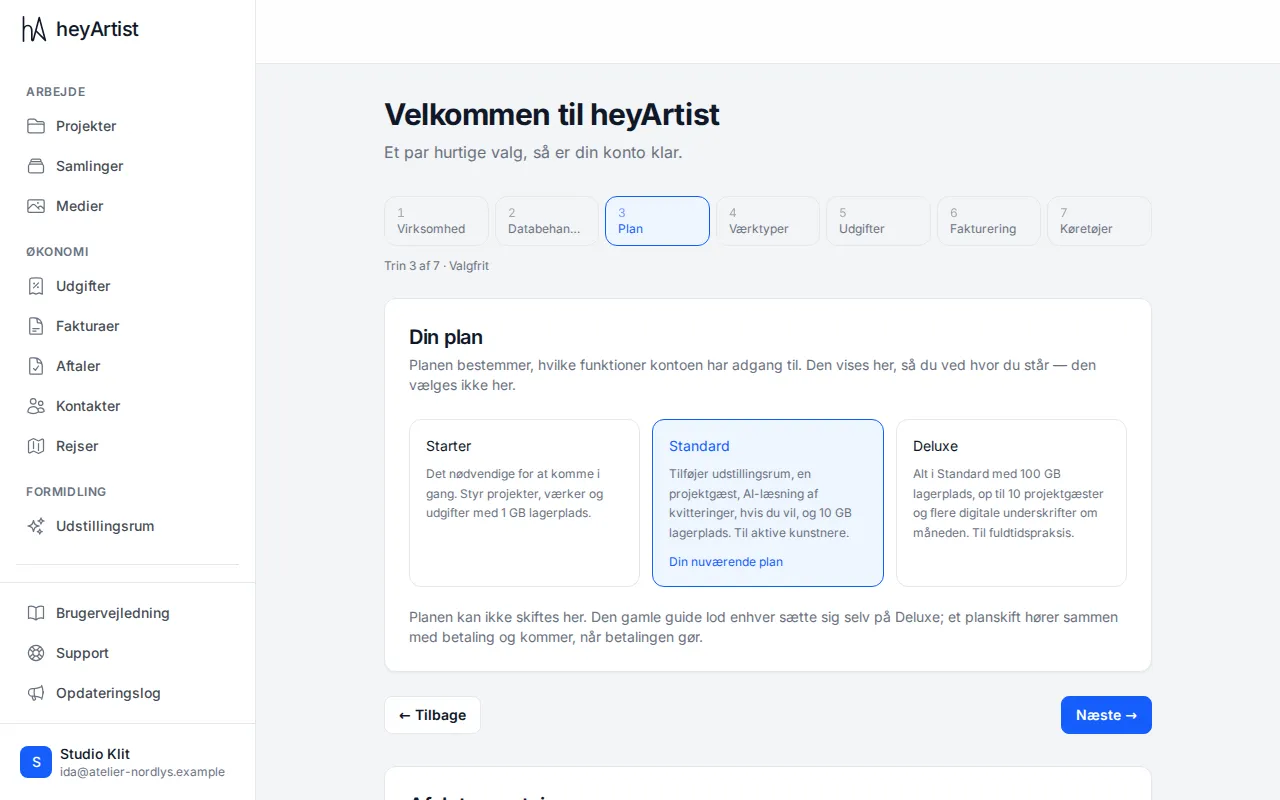
This shows the account’s plan. The plan is not chosen during setup. To change it, a manager does so under Settings → Plan. See The plans: Starter, Standard and Deluxe.
4. Artwork types
Section titled “4. Artwork types”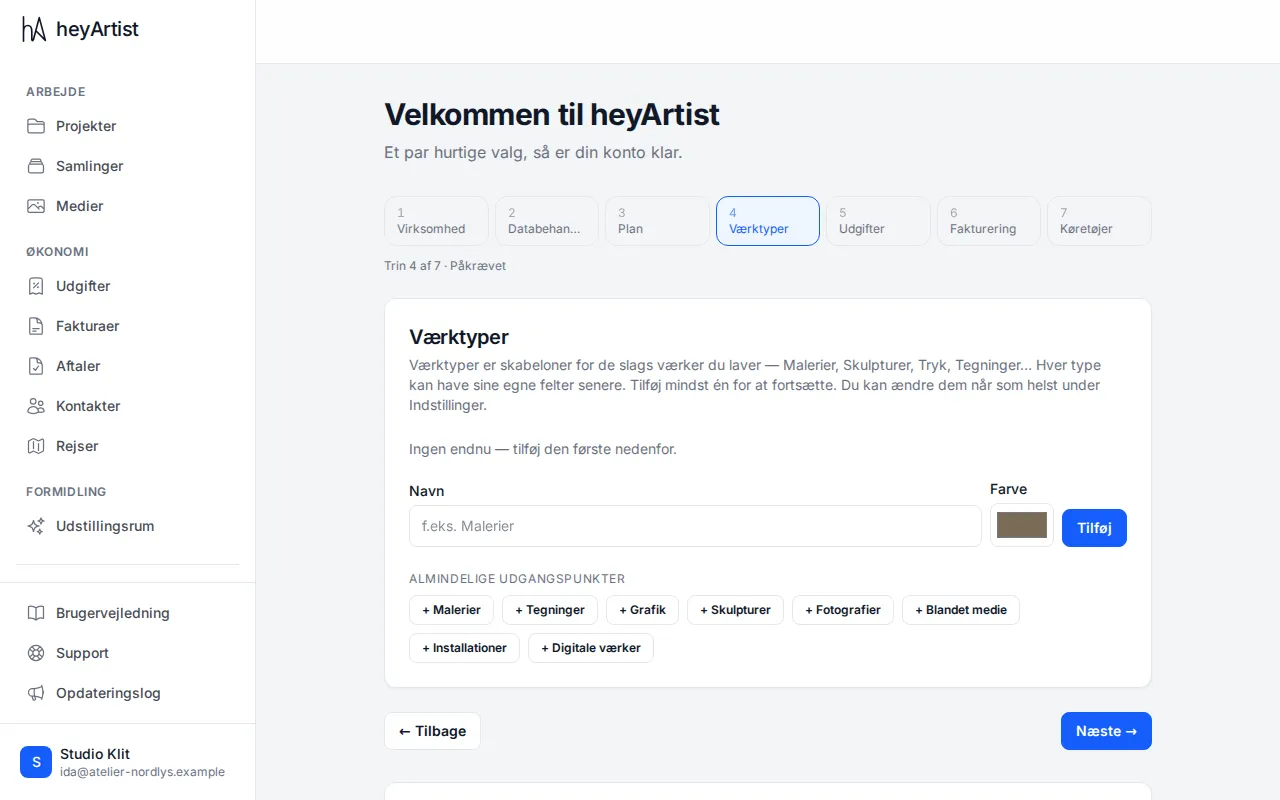
Artwork types are the kinds of work you make — for example Paintings, Drawings, Prints or Sculptures. Each type can later get fields of its own, such as dimensions, technique or edition size.
Click one of the suggestions under Common starting points, or type your own name, pick a colour and click Add. You need at least one artwork type. See Artwork types and fields.
5. Expense categories
Section titled “5. Expense categories”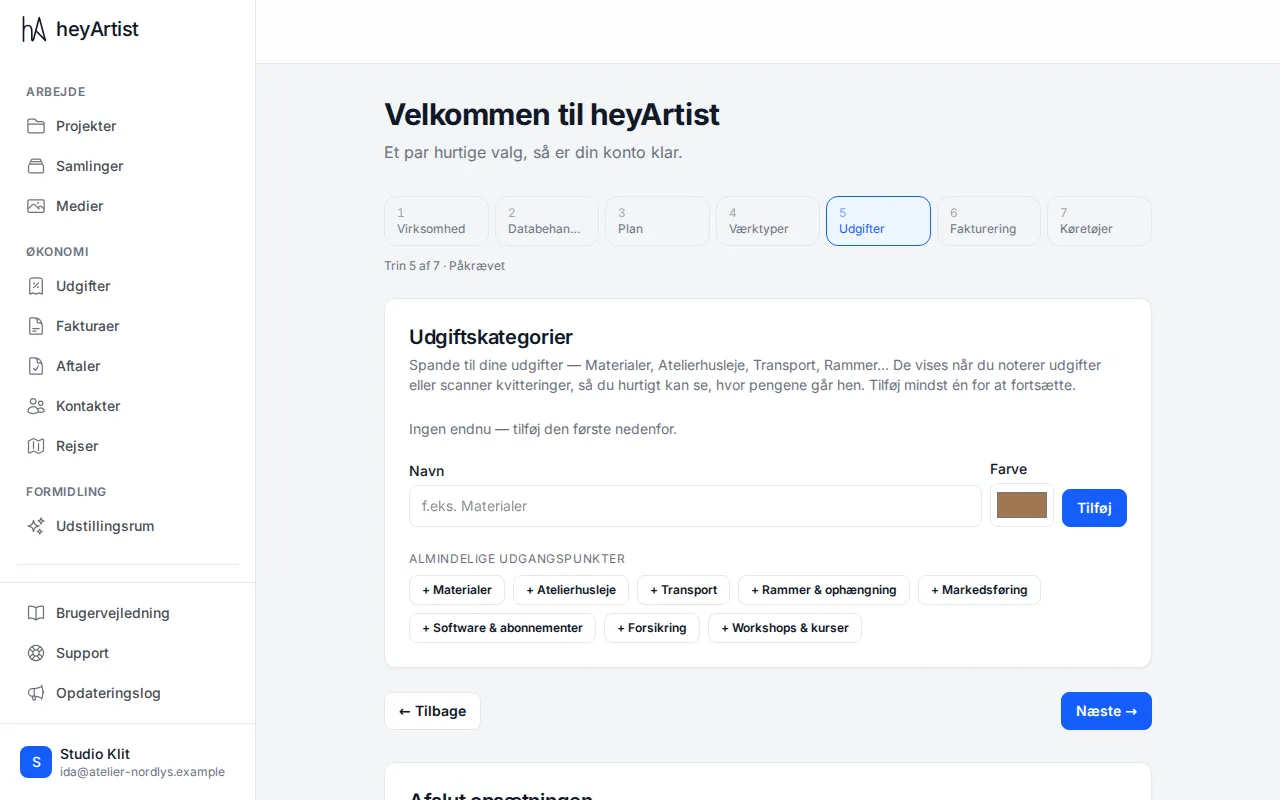
Categories are the “buckets” your expenses go into — for example Materials, Studio rent, Travel and Framing & mounting. You choose a category when you review an expense, so you can see where the money goes.
Add at least one. See Expense categories and artwork types.
6. Invoicing
Section titled “6. Invoicing”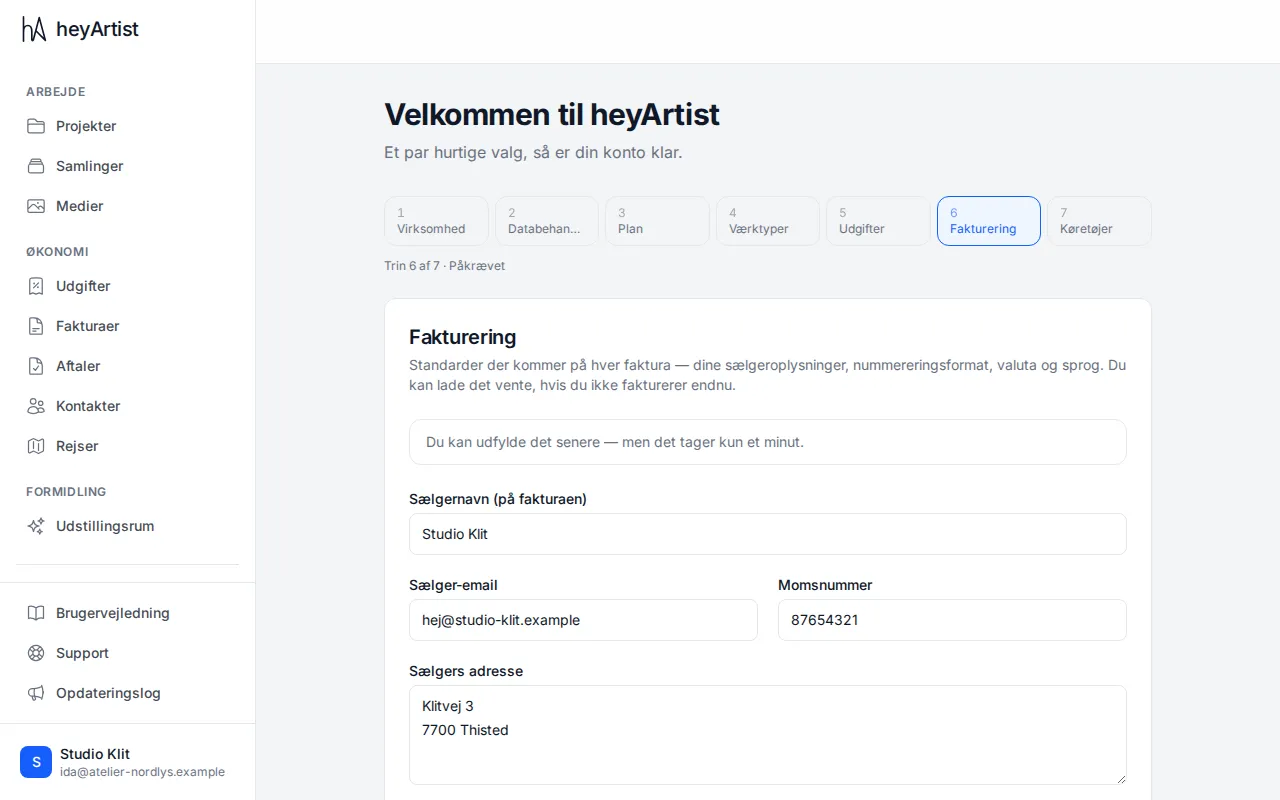
Here you set up what goes on every invoice:
- Seller name, seller email, VAT number and seller address — filled in from step 1.
- Country code, default currency, invoice language and default payment terms.
- Invoice prefix and invoice number format — for example INV-2026-001.
- Payment instructions, such as your bank details.
Click Save. The invoice number itself is only given when an invoice is issued, and the number format is locked once the first invoice has been issued.
The step is marked Required, but only on Deluxe must the seller name and address be filled in before setup can be finished. On the other plans you can leave it until your first invoice. See Before you invoice.
7. Vehicles
Section titled “7. Vehicles”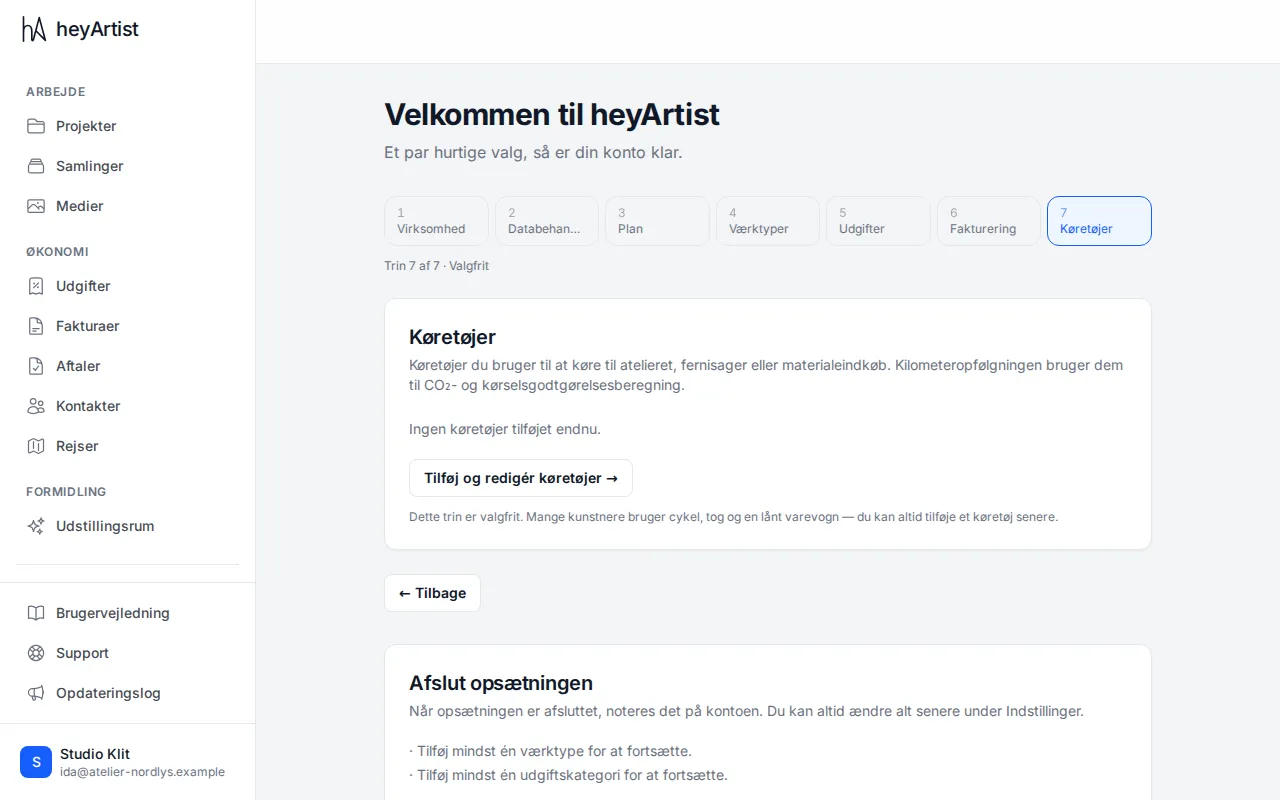
If you drive your own car to the studio, exhibitions or shopping for materials, you can add it here. heyArtist uses it to work out the mileage allowance and CO₂ for your trips. Click Add and edit vehicles.
The step is optional — you can always add a vehicle later. See Vehicles and CO₂.
Finish setup
Section titled “Finish setup”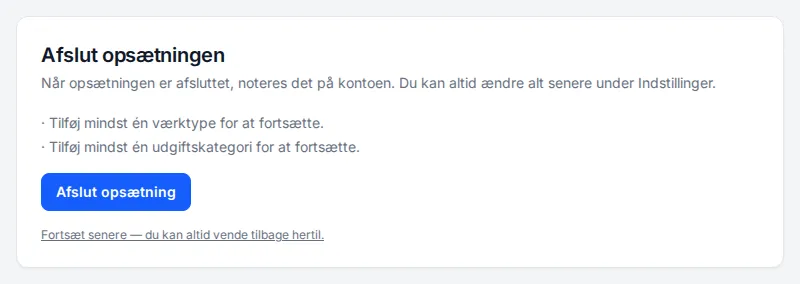
At the bottom is Finish setup. If anything is missing, it is listed above the button — an artwork type or an expense category, for example. Click Finish setup when the list is empty.
The card then disappears from the front page. Everything you chose can be changed again under Settings.